


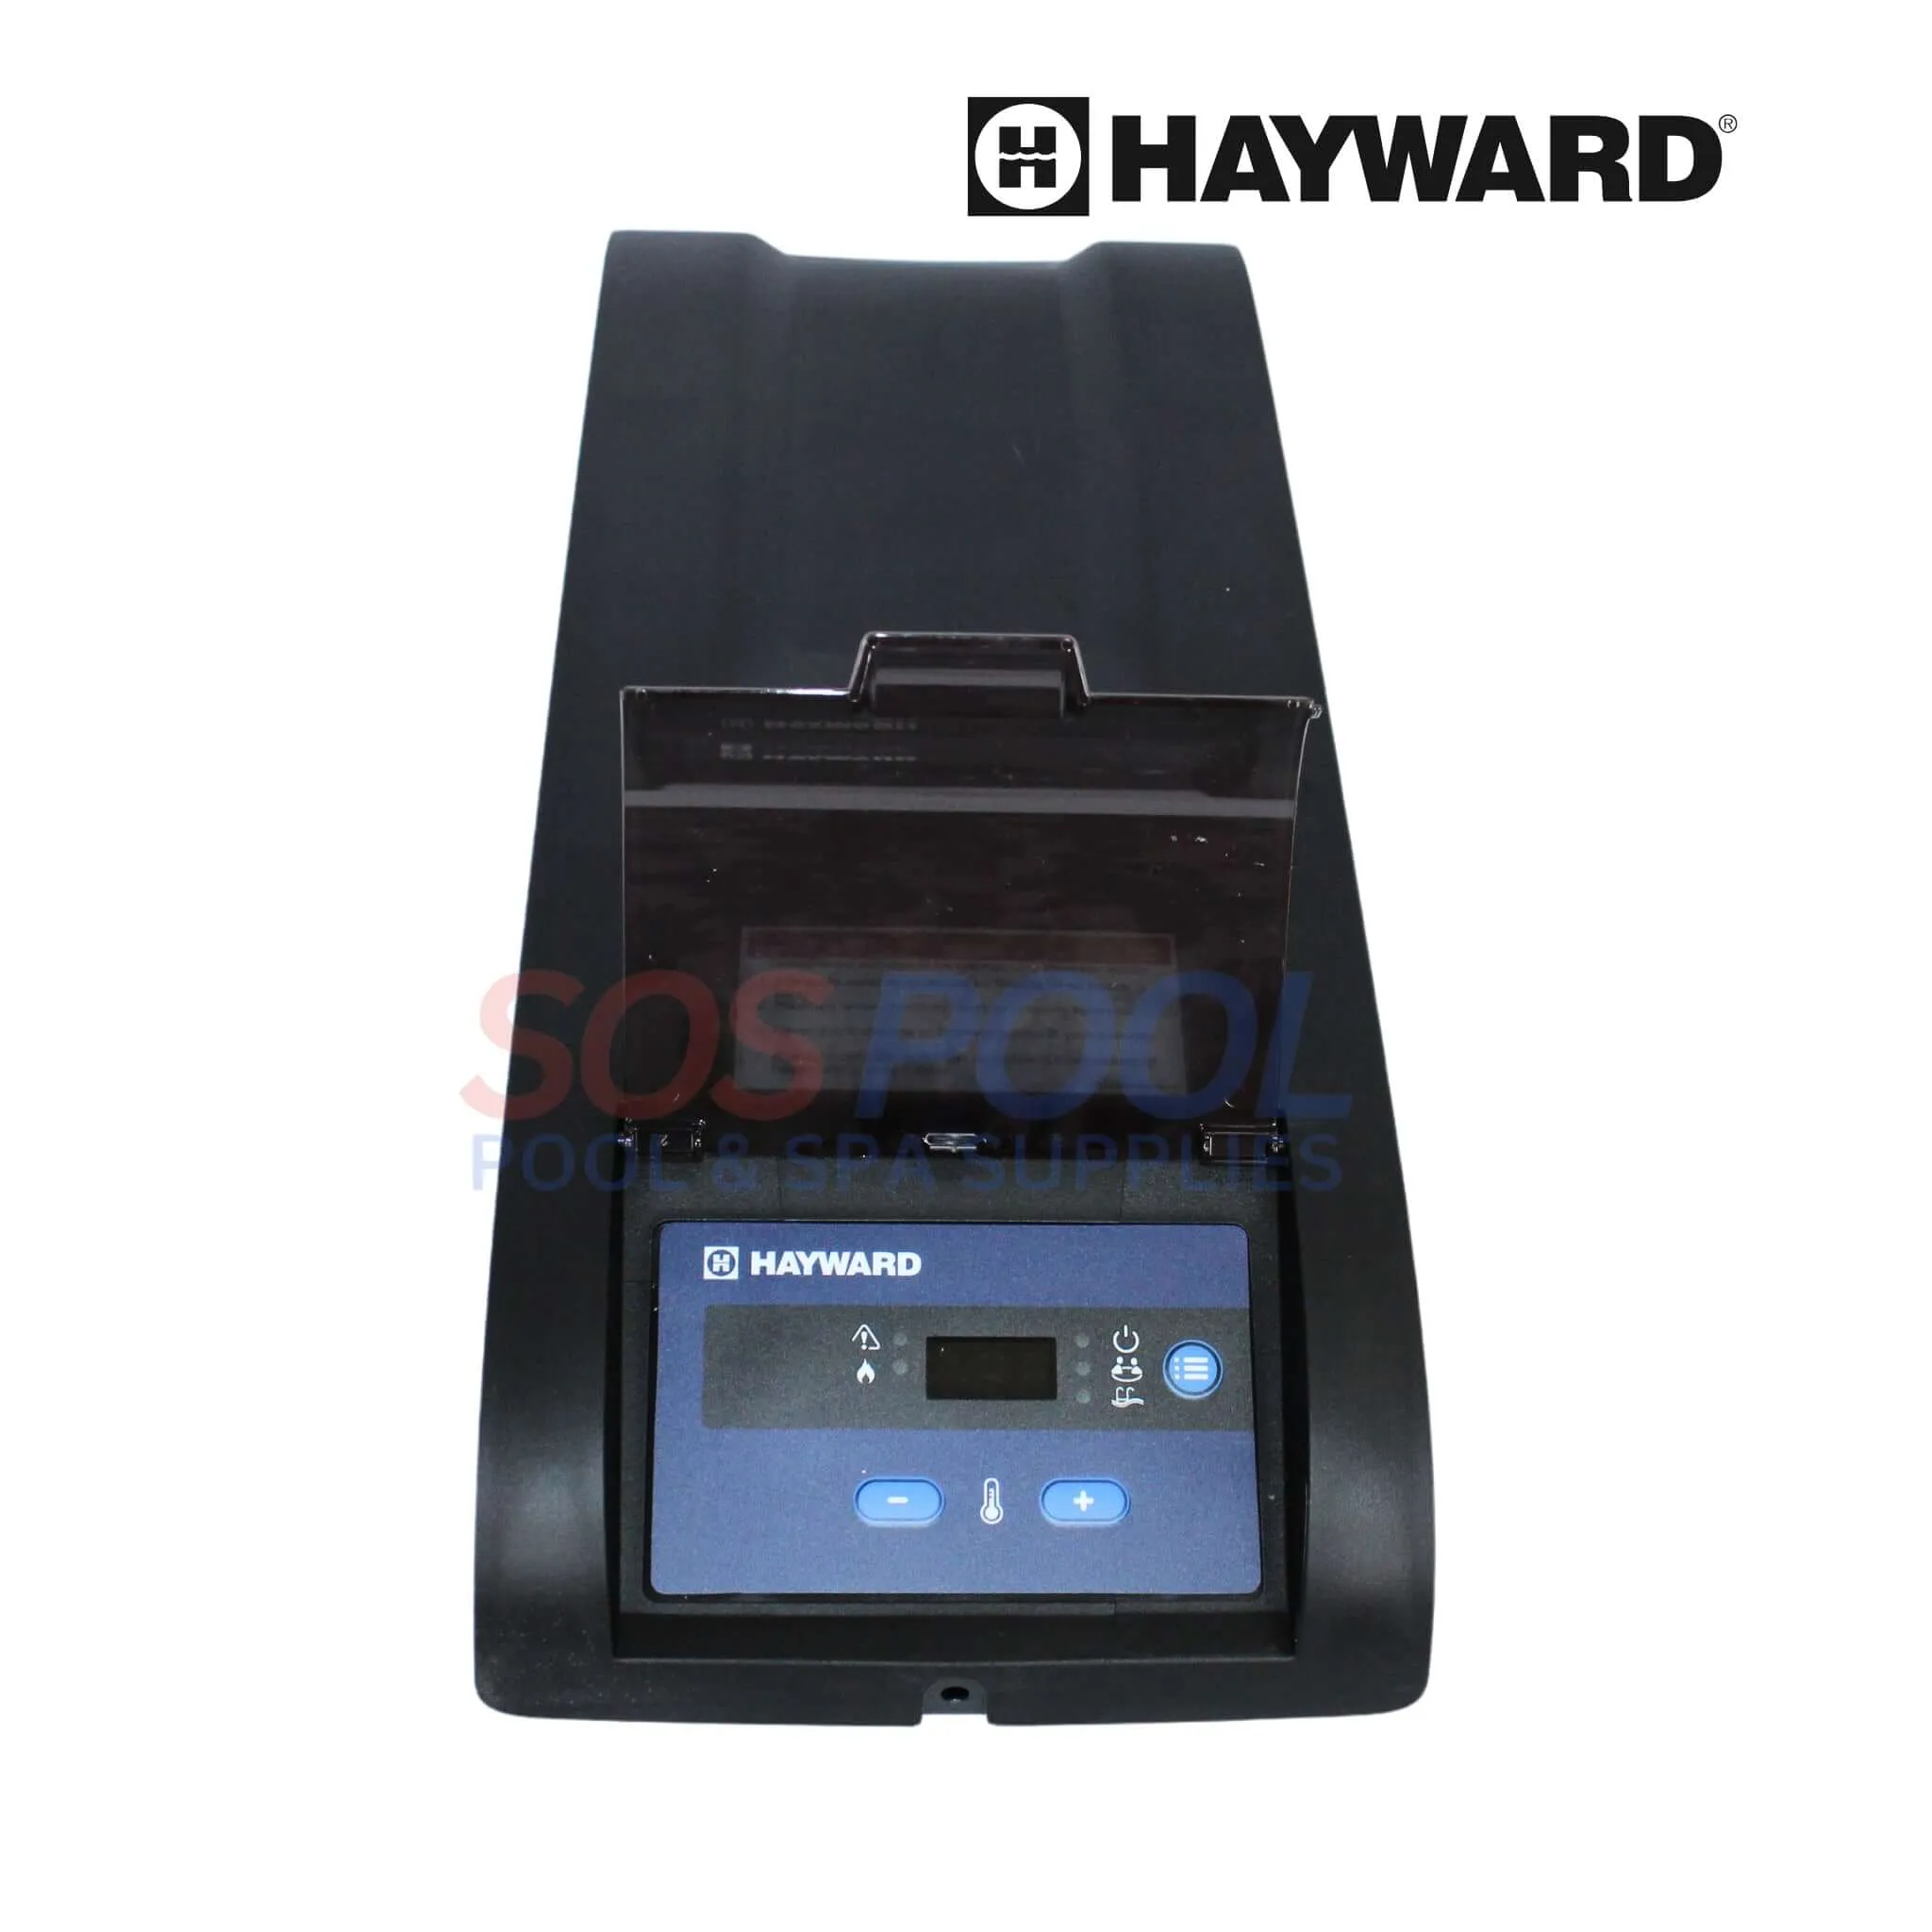
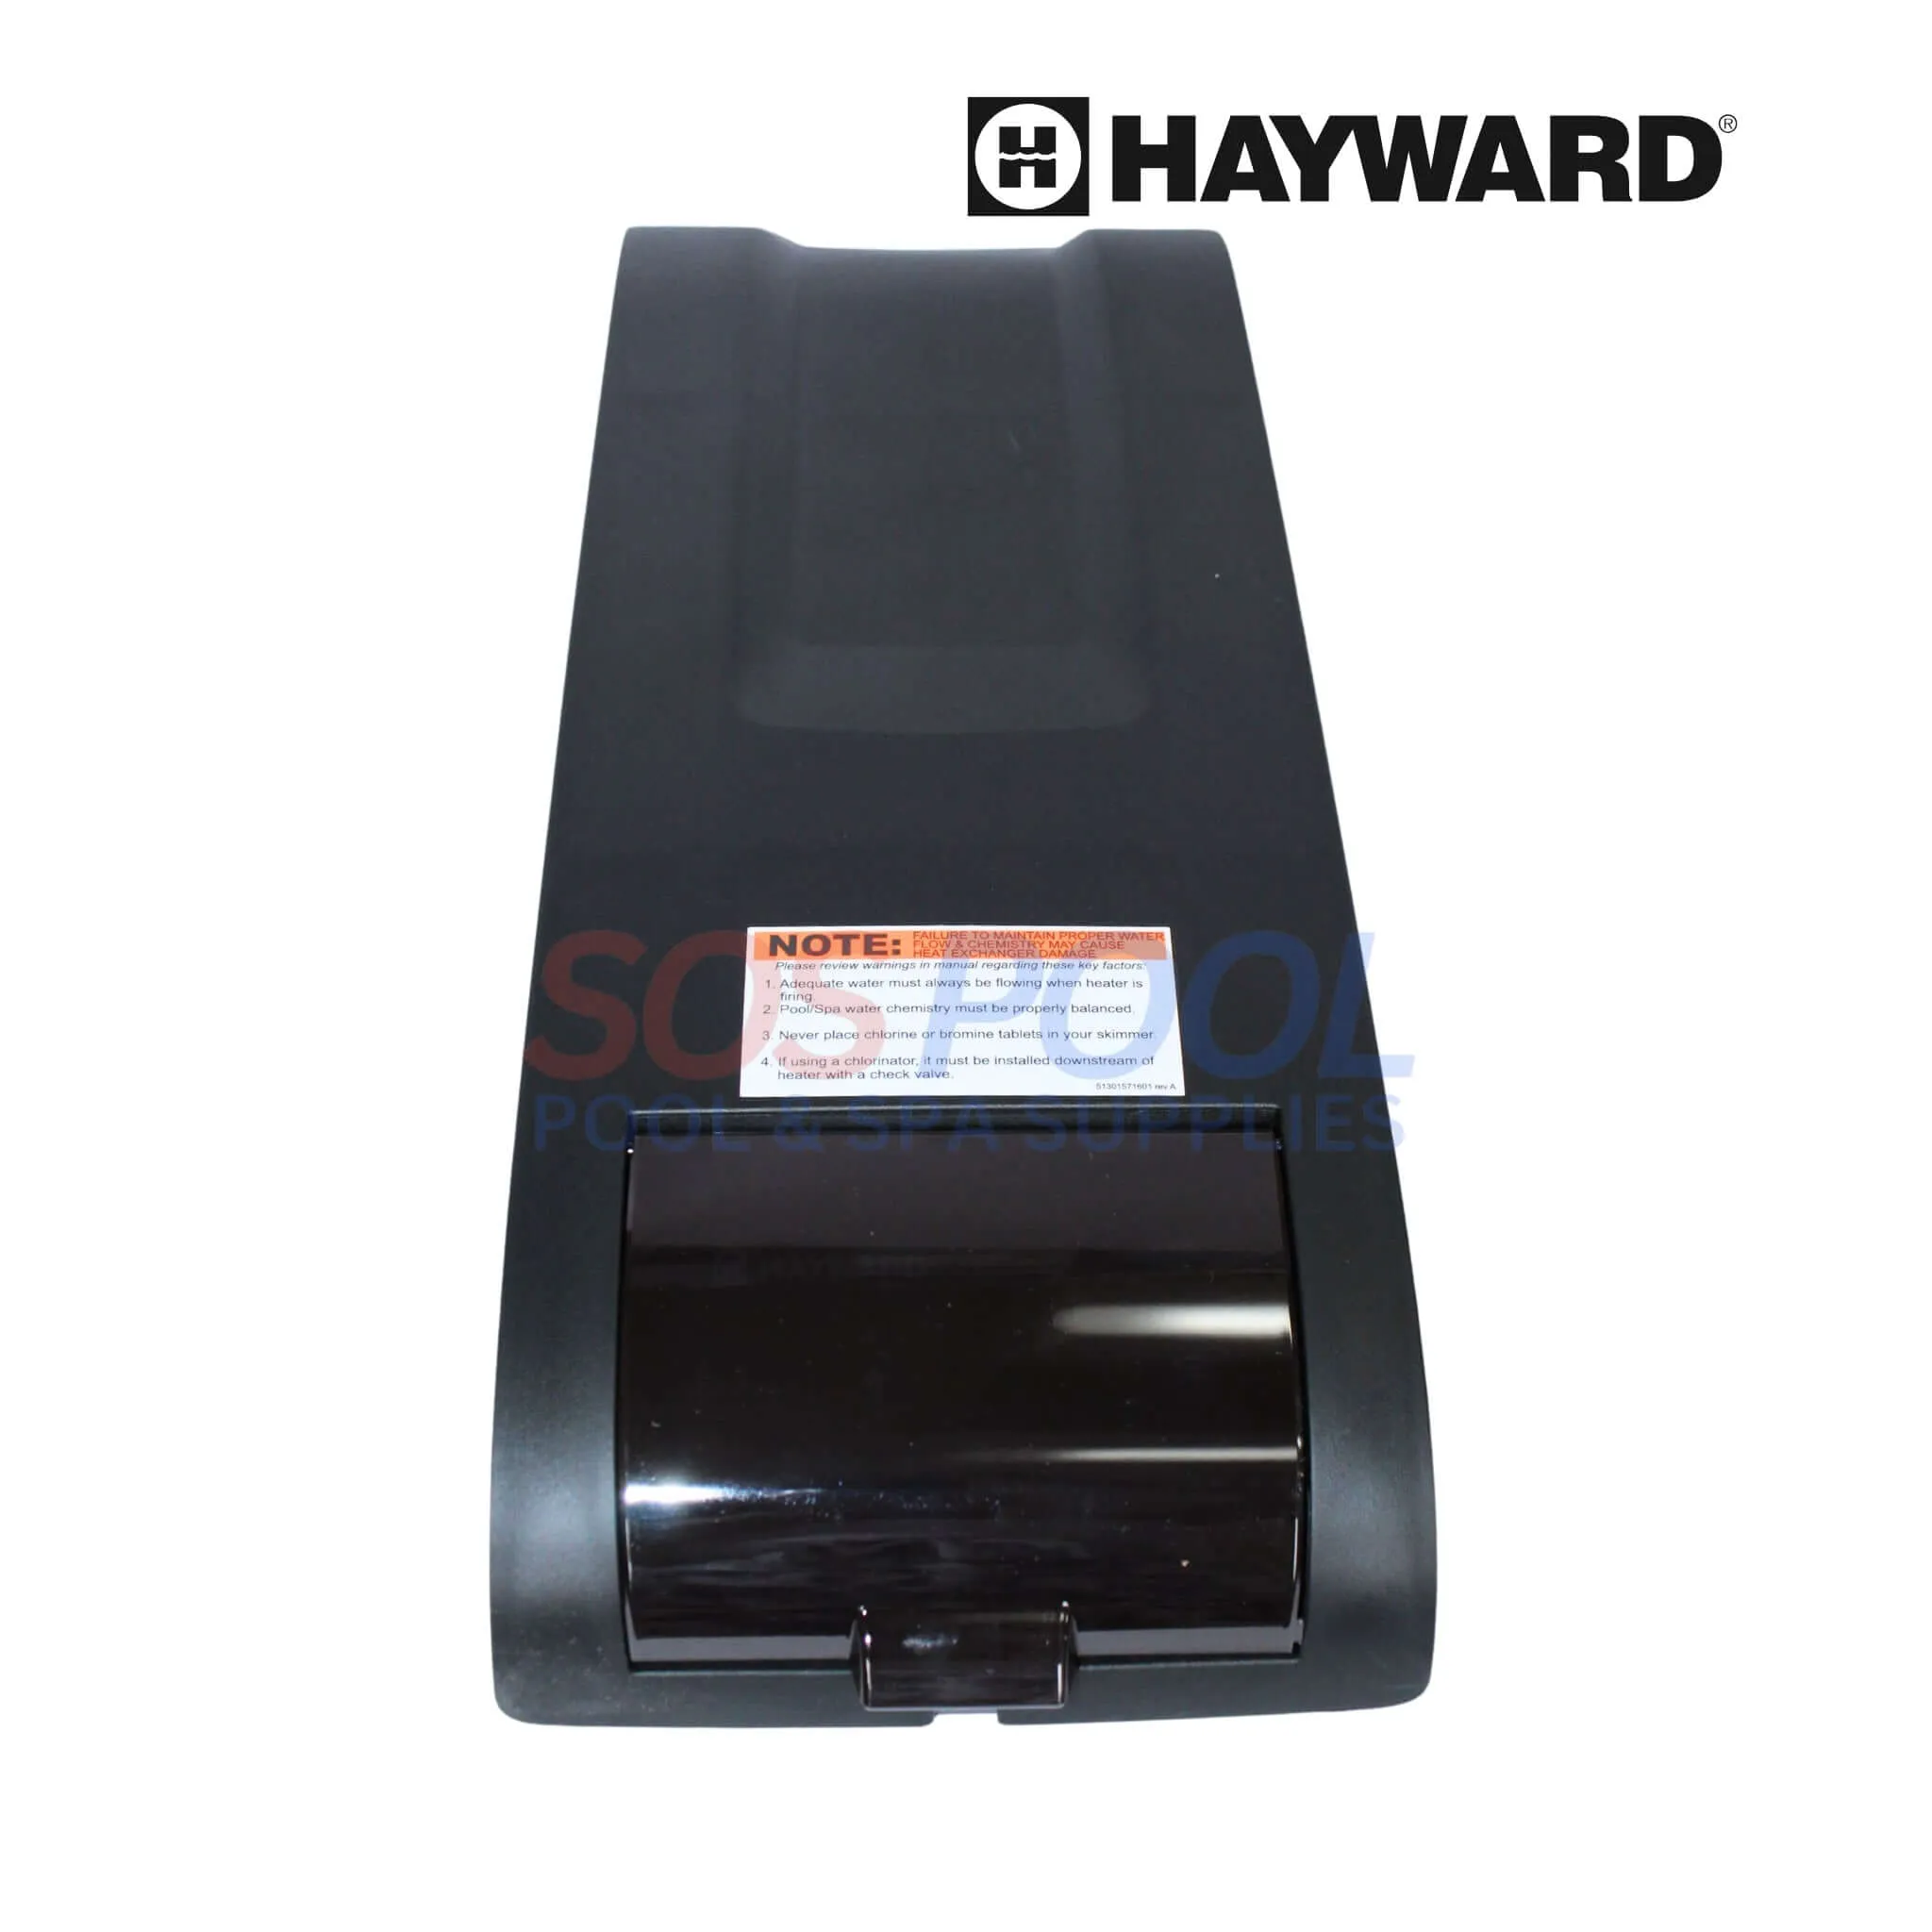

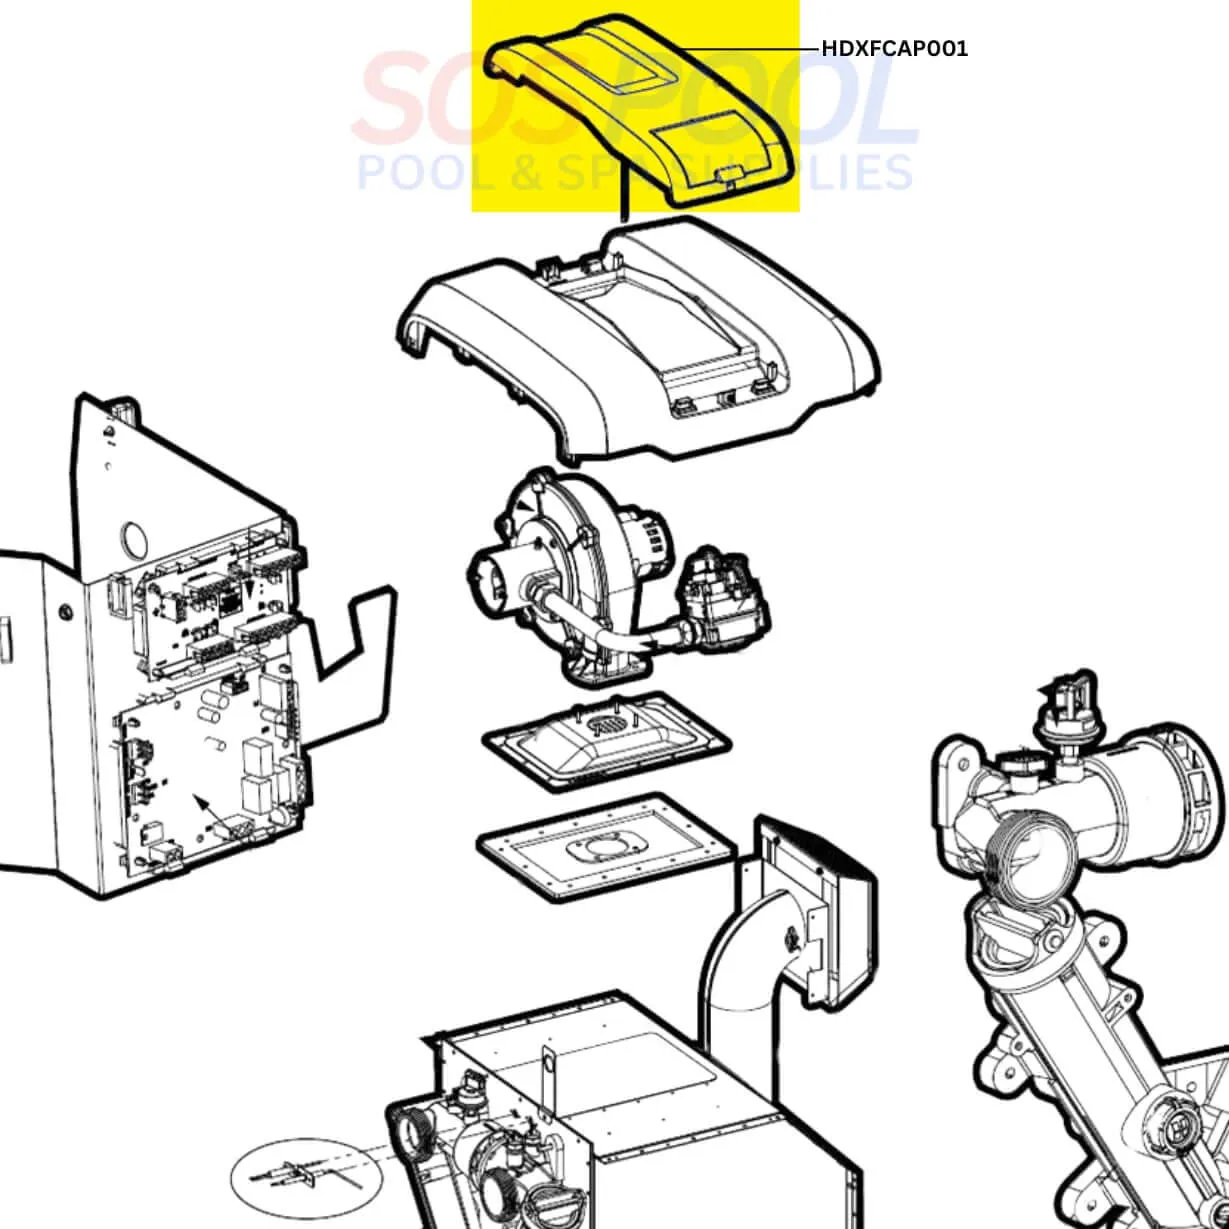
The OEM Hayward Control Access Panel Assembly, model HDXFCAP001, is specifically designed for HDF400 heaters. This assembly provides a secure and accessible housing for the control components, simplifying maintenance and enhancing the overall durability of your heating system. Constructed from high-quality, weather-resistant materials, it ensures long-lasting protection and reliable performance in diverse conditions. Ideal for both new installations and replacements, the Hayward Control Access Panel Assembly ensures your heater operates efficiently and reliably by safeguarding essential controls.
Highlights
- Designed for HDF400 Heaters: Specifically tailored for HDF400 heaters, providing an exact fit for optimal performance.
- Secure and Accessible Housing: Offers a secure and accessible housing for control components, simplifying maintenance processes.
- High-Quality, Weather-Resistant Construction: Made from durable, weather-resistant materials, ensuring long-lasting protection in various conditions.
- Ideal for New Installations and Replacements: Perfect for both new installations and replacements, enhancing the overall durability of your heating system.
- Enhances Efficiency and Reliability: Ensures your heater operates efficiently and reliably by safeguarding essential controls, contributing to the longevity of the system.
Compatibility
- Compatible with Hayward HC Series HDF400 Heaters
Instructions
1. Remove the single screw securing the top access panel to the cabinet
top
2. Lift the front lip of the top access panel several inches. The front of the
panel is where the user interface is located and the same side the
screw was removed from in step 1.
3. With the front of the top access panel elevated, slide the panel toward
the rear of the unit until the tabs holding the rear side down are disengaged from the cabinet top.
4. Carefully lift the top access panel free of the unit, ensuring excess
tension is not placed on the ribbon cable attached to the ignition control board inside the heater cabinet, and rotate it 180 degrees so that
the user interface is now on the opposite side of the heater.
5. Secure the top access panel to the heater in the new orientation by
installing the screw removed in Step 1 in the new location


